If you’re thinking about adding video to your affiliate marketing strategy but aren’t sure where to start, you’re not alone. Hitting the record button can feel awkward (I was nervous my first time, too), but video is one of the fastest ways to build trust, explain products clearly, and connect with your audience on a whole new level.
The best camera is the one you’ll actually use… press record and let your message do the heavy lifting.
In this guide, I’ll show you a simple weekend plan to film your first videos, beginner-friendly tools (no studio required), and how to repurpose each video across your blog and socials so your effort multiplies. No perfection is needed… just progress.
Table of Contents
Affiliate Disclaimer: This site contains affiliate links, which means I may earn a commission on purchases made through these links at no extra cost to you.
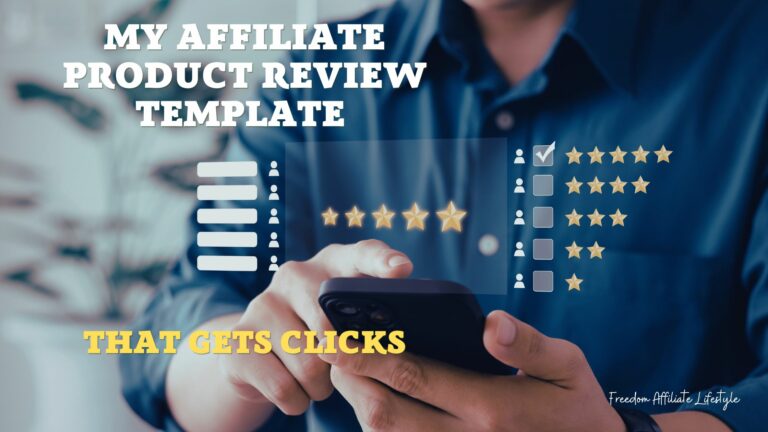
Why Video Works So Well for Affiliates
When people can see your face or hear your voice, they quickly decide you’re credible, which makes product demos, quick tips, and comparisons far more persuasive than text alone. Short videos also make it easy to transition between showing exactly how something works, answering objections in real time and nudging viewers toward the next step.
And because one recording can be repurposed into a blog post, YouTube Shorts/Reels, Pinterest Idea Pins, and even an email teaser, every minute you spend on video multiplies across your entire content ecosystem.
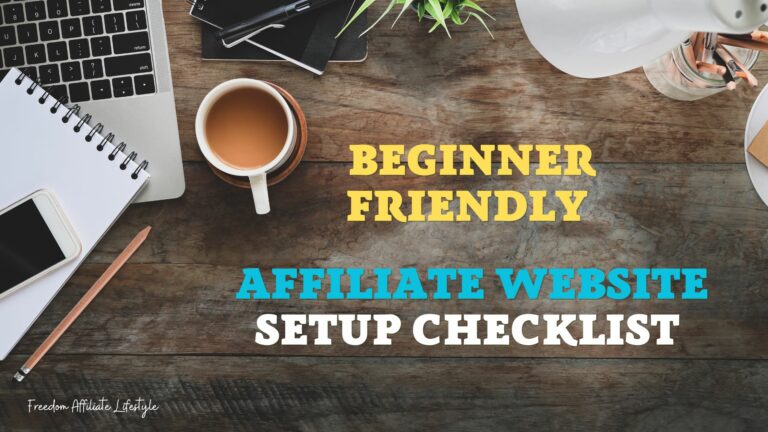
The Zero-Stress Starter Kit (Use What You Have)
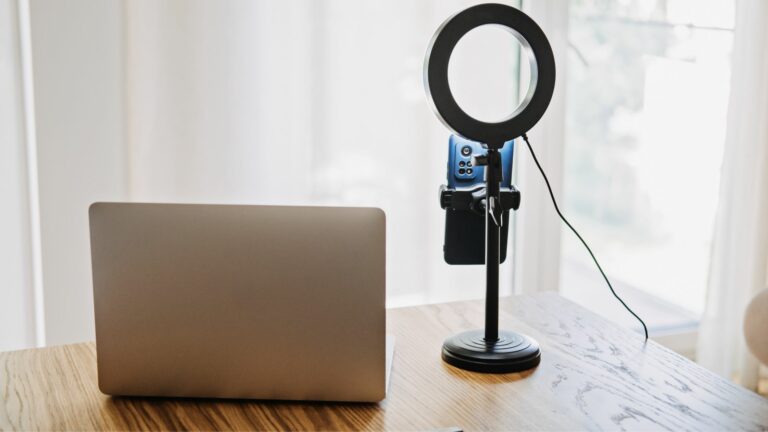
You don’t need a studio or pricey gear to start. Just use what you already have and keep the setup simple. With a phone, steady mount, and good window light, you can capture clean, confidence-boosting video in minutes.
Phone camera: Modern smartphones look great. Clean the lens, shoot 1080p/30fps.
Tripod or stand: Any stable mount works. Use stacked books or a coffee mug, etc.
Lighting: Face a window. Avoid strong backlight.
Audio (nice-to-have): A simple clip-on mic improves clarity but isn’t mandatory.
Backdrop: Tidy corner, neutral wall, or desk setup. Keep it simple and consistent.
Quick Setup: Put the phone slightly above eye level → face the window → tap to focus → lock exposure if your phone allows → hit record.
Your First 3 Videos (Copy-and-Paste Scripts)
Keep each one to 2–3 minutes. Use this simple structure: Hook → Value → CTA.
1) Mini Review: “1 Problem, 1 Product, 1 Result”
Hook (5–7 sec): “If [problem], this tool fixed it for me in minutes.”
Value (60–90 sec): Show the one feature that matters most. Screenshare or quick demo.
CTA (10–15 sec): “Link is in the description below – full write-up on my blog with pros/cons and a checklist.”
CTA options:
“Grab the link in the description.”
“See my full review on the blog.”
“Comment ‘review’ and I’ll DM the article.”
2) Quick Tip: “Do This First”
Hook: “Before you start with [tool], do this… it saves tons of time.”
Value: Show the exact setting/template/workflow.
CTA: “Want the setup checklist? It’s in the blog post linked below.”
3) Alternatives/Comparison
Hook: “Not sure which [tool/category] to pick? Here’s how I’d choose in 60 seconds.”
Value: 2–3 criteria, then who each option is best for.
CTA: “I linked both with my notes and free comparison table on the blog.”
👉 For a simple, step-by-step plan to turn your content into income, read my guide: Blogging for Profit
On-Camera Basics That Make You Look Pro
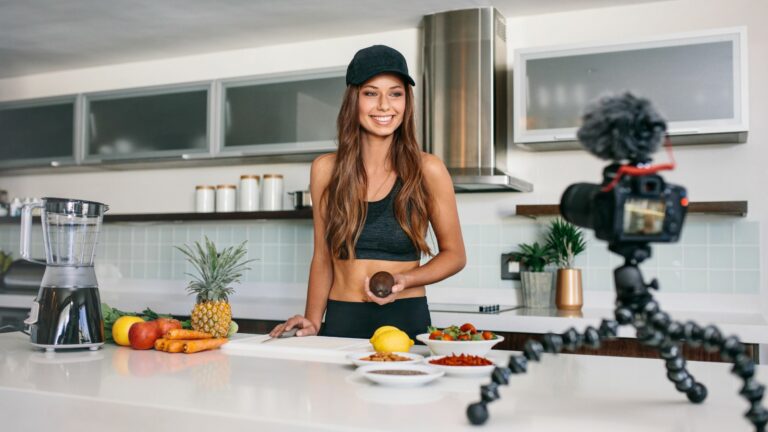
Frame: Chest-up, eyes in top third of frame.
Light: Window in front, not behind.
Sound: Turn off fans/AC; speak toward the mic.
Energy: Smile at the lens, not the screen. Sit or stand tall.
B-roll: Capture 3–5 five-second clips (typing, clicking, product close-up) to cover jump cuts.
Edit Fast: The “Good Enough” Strategy
Import your clips, pick the best take, and trim the dead space at the beginning and end so the video starts and ends cleanly. Play through once and make only essential cuts… delete obvious stumbles, long pauses, or repeats and then hide any jump cuts with a quick punch-in, a simple crossfade, or a few seconds of B-roll.
Add a basic title card up front and a lower-third with your name/handle on the first mention, keep background music minimal (voice first), and normalize your voice so it’s clear and even. If you have time, add auto-captions for accessibility; otherwise skip it and export at 1080p as an MP4 — good enough, shipped.
Publish Checklist
Before you click upload, lock in the details that drive views and clicks. A clear, benefit-led title, a strong first two lines of your description (with affiliate disclosure and links), and a clean thumbnail do most of the heavy lifting. Then finish with smart basics like tags, a pinned comment, and end screens to guide viewers to your next step.
Title = Benefit + Keyword (e.g., “PowerDirector 365: Fast Edits for Beginners”)
First 2 lines of description = the promise + affiliate disclosure + primary link
Add 3–5 relevant tags
Pin a top comment with your main link
End screen: subscribe + related video
Thumbnail: close-up face + 2–3 word benefit (e.g., “Edit Faster”)
Repurpose Plan (Multiply Each Video)
Turn one recording into a content engine by embedding it on your blog with a short summary, key timestamps, quick pros/cons, and your affiliate links.
Slice a 20–35-second vertical clip that features the hook and one tip for Shorts/Reels/TikTok, and turn the core steps into a 3–5 slide Pinterest Idea Pin (problem → quick step → result → CTA).
Send a fast email teaser to your list – “New video: [result] in 2 minutes” – that links to the blog, then share the video as a mini tutorial in your community/training feed with a few bullet notes and resources.
7-Day Action Plan
Day 1: Pick one topic and write a 3-line script (Hook/Value/CTA).
Day 2: Set up your phone + window light; record two takes.
Day 3: Trim in PowerDirector (or your editor), add a title card, export.
Day 4: Upload to YouTube, add description, disclosure, links, thumbnail.
Day 5: Embed on your blog with a short write-up + checklist.
Day 6: Cut a 25-second Short/Reel; post with the same CTA.
Day 7: Share to Pinterest + email a quick note to your list.
Beginner Gear & Tools (Start then Upgrade)
Start with: phone, tripod/stand, window light, OBS or Loom, PowerDirector 365
Nice upgrades later: clip-on lav mic, softbox or LED key light, quiet background, simple backdrop
- Frequently Asked Questions
Question: What if I hate being on camera?
Answer: Use screenshare + voiceover. You can add a small webcam bubble later..
Question: How long should beginner videos be?
Answer: 2–3 minutes is perfect. Focus on one tip, one feature, or one result.
Question: Do I need a teleprompter?
Answer: No. Bullet points on a sticky note near the lens keep you natural.
Question: How many takes is normal?
Answer: Two to three. Keep the best one. Don’t chase perfect.
Final Thoughts (and Your Next Step)
Video builds trust faster than any format I’ve used. It doesn’t need to be fancy, it just needs to be you. If you’ve been waiting for the perfect moment to start, this is it. Record your first short video today, embed it on your blog, and repurpose it everywhere.
Want structured training and a supportive community while you build this into a full content system? My go-to is Wealthy Affiliate … the tutorials, tools, and community make it easier to turn views into revenue and track what’s working long-term.


Elizabeth teaches people how to make money online through affiliate marketing. Her tips and strategies help readers earn a Full-Time Income from home. She shares easy steps for success on her blog. Follow her to start your journey!